Haunting Halloween Goodies
Easy Monster Halloween Veggie Tray
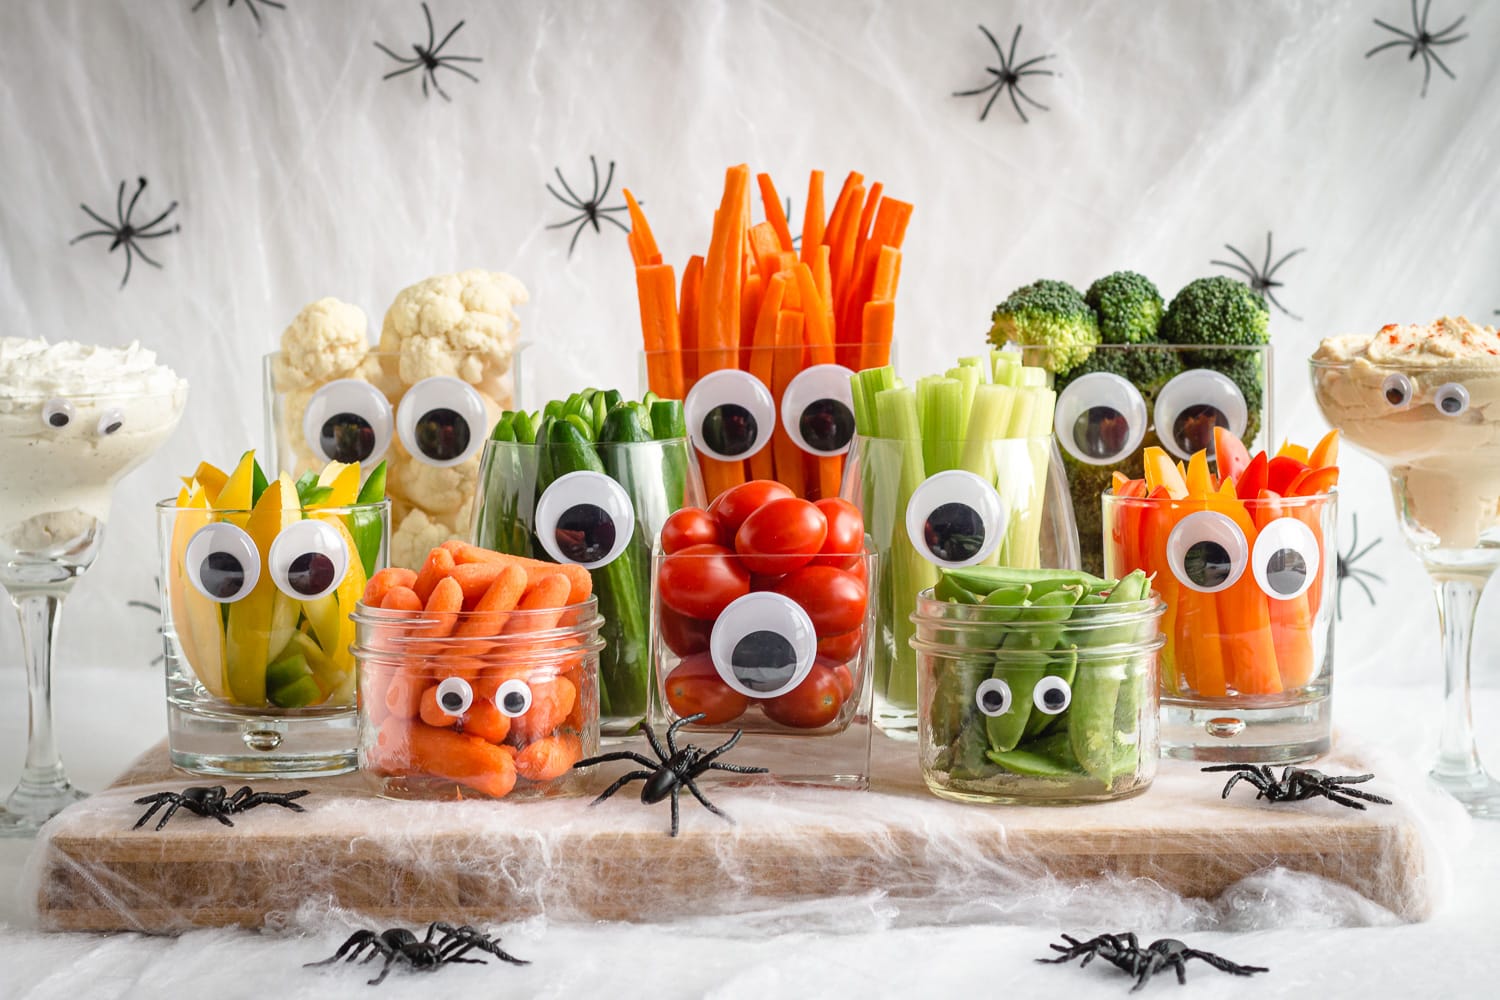
Materials:
- Glassware
- Googly eyes
- Your favorite vegetables (cut and sliced) and dips!
Directions:
- Grab a variety of glassware in different shapes and sizes (Whatever you have around!). Arrange them on a board, tray, or directly on the table or counter where you will be serving them.
- Attach your googly eyes to the glassware (Using double sided tape can make for easy removal later)
- Fill your glasses with veggies and dip and enjoy!
*Try using other craft supplies, such as craft paper or pipe cleaners, for more personality in your monsters!
This idea is courtesy of mapleandmango.com
Skeleton Veggie Tray

Ingredients
- Bell pepper, sliced, for the "ribs"
- Mushrooms, sliced, for the "hair"
- Cucumber, sliced, for the "spine"
- Carrots, sliced, for the "arms and legs"
- Celery, sliced, for the "arms and legs"
- Broccoli, chopped into florets, for the "hips"
- Cauliflower, chopped into florets, for the "hips"
- Grape tomatoes, for the "hands"
- Olives, sliced, for the "eyes"
- Dip of your choice, for the "head"
Directions:
- Arrange your produce in the shape of a skeleton, using olive slices for the eyes and diced carrots for the mouth.
**This skeleton can easily be customized with your favorite veggies, or even try it with fruit!
This recipe is courtesy of aussiehomecook.com
Taco-Stuffed Mini Sweet Pepper Mummies
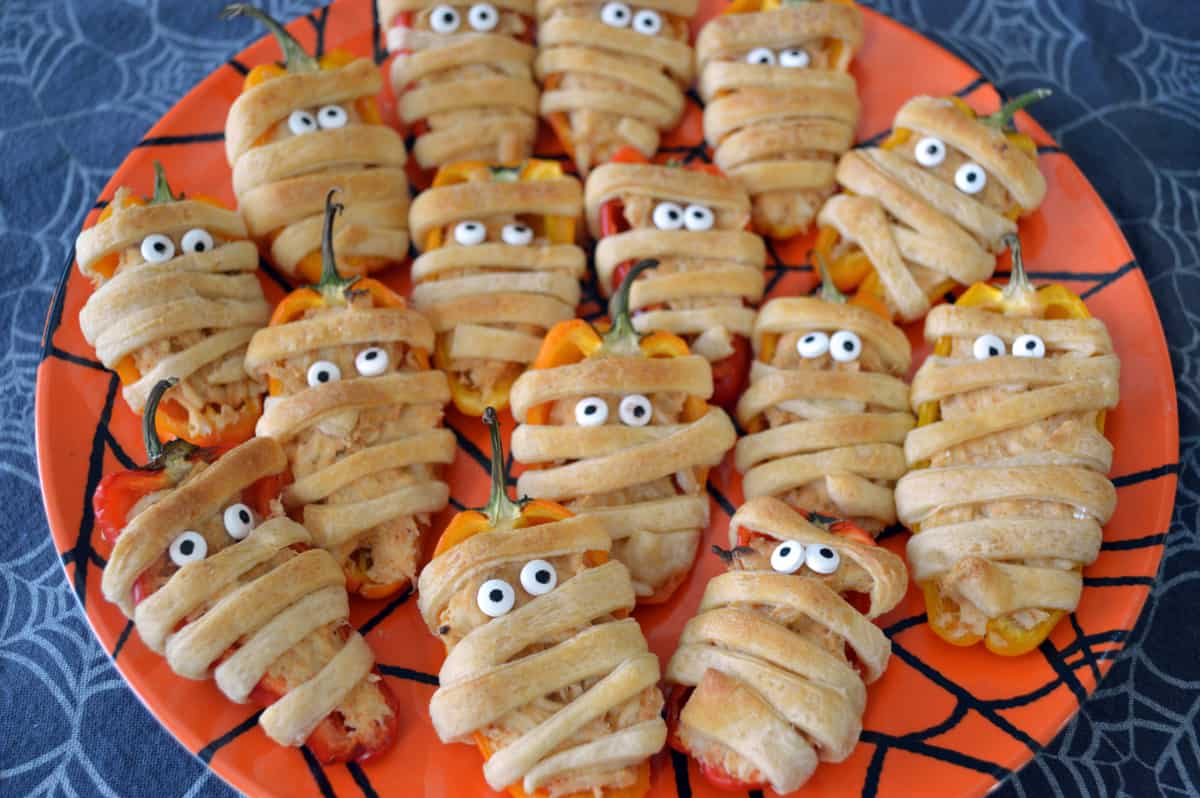
Ingredients:
- 12 mini sweet peppers
- 2 cups cooked shredded chicken breast
- 8 ounces cream cheese softened
- 1 tablespoon taco seasoning
- 1 8 oz. package crescent rolls, cut into thin strips
- 48 candy eyes
Directions:
- Preheat oven to 375F.
- Slice mini sweet peppers in half lengthwise. Scoop out seeds.
- Mix chicken, cream cheese and taco seasoning in medium bowl. Fill pepper halves with chicken/cream cheese mix. Wrap peppers with 1-2 crescent roll strips, leaving room for eyes.
- Place on baking sheet and bake 10-12 minutes or until lightly browned. Remove from oven and let cool before adding eyes.
**While this recipe uses taco stuffing, feel free to use your preferred stuffing mix!
This recipe is courtesy of healthyfamilyproject.com
Monster Bell Pepper Salad Cups

Ingredients:
- 4 bell peppers, various colors
- 8 green olives
- 1 cucumber, sliced lengthwise
- 2 mini bell peppers, sliced in half
- Preferred salad mix and dressing*
- Toothpicks, broken in half
Directions:
- Slice the tops off of the bell peppers and deseed the insides.
- Place a green olive on each toothpick half and insert into the tops of the bell peppers for eyes.
- Combine the salad ingredients together and toss with your choice of dressing, then evenly distribute the salad into each pepper.
- Add a cucumber slice or mini pepper as the tongue. Switch it up to give them their own unique personality!
- Place the top back onto the pepper and serve with dinner.
*While salad makes this spooky treat quick and easy to whip up, you could always use this decoration method with whatever filling you choose! (Scary stuffed peppers anyone?)
This recipe is courtesy of www.forkandbeans.com
Spooky Baked Halloween Chips
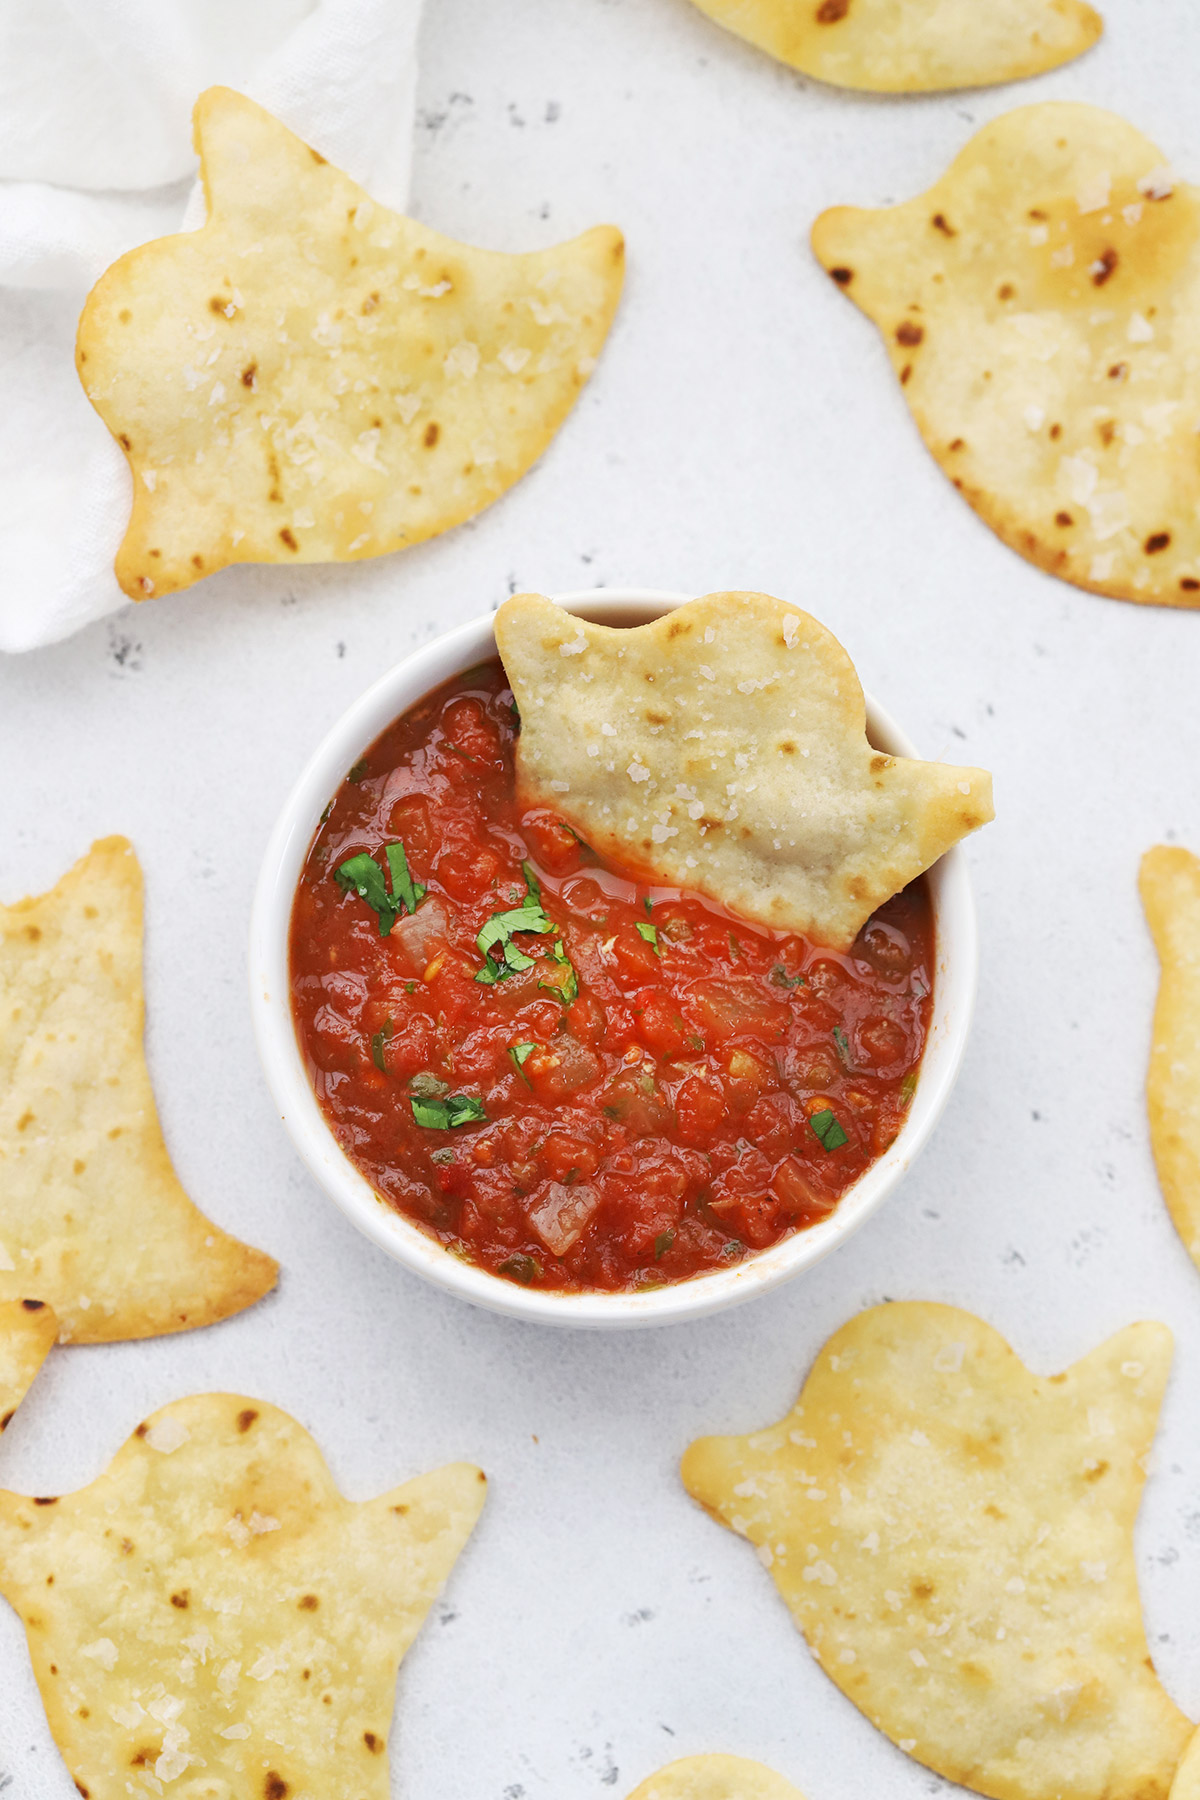
Ingredients:
- 4 flour tortillas (gluten-free or grain-free, as needed)
- Spray avocado or olive oil
- Salt*
- Halloween cookie cutter
Directions:
- Preheat oven to 375 degrees F, and lightly grease a cookie sheet
- Working one tortilla at a time, use a cookie cutter to cut out shapes from your tortillas (Try to place your cuts as close together as possible to avoid waste)
- Transfer cutouts to your prepared baking sheet. Lightly mist the chips with a little oil and sprinkle with salt
- Bake for 5-7 minutes, and serve with salsa, guacamole, or your favorite chip dip!
*Use this method with cinnamon sugar and fruit salsa for a spooky sweet dessert!
This recipe is courtesy of onelovelylife.com
Halloween Fruit Kabobs
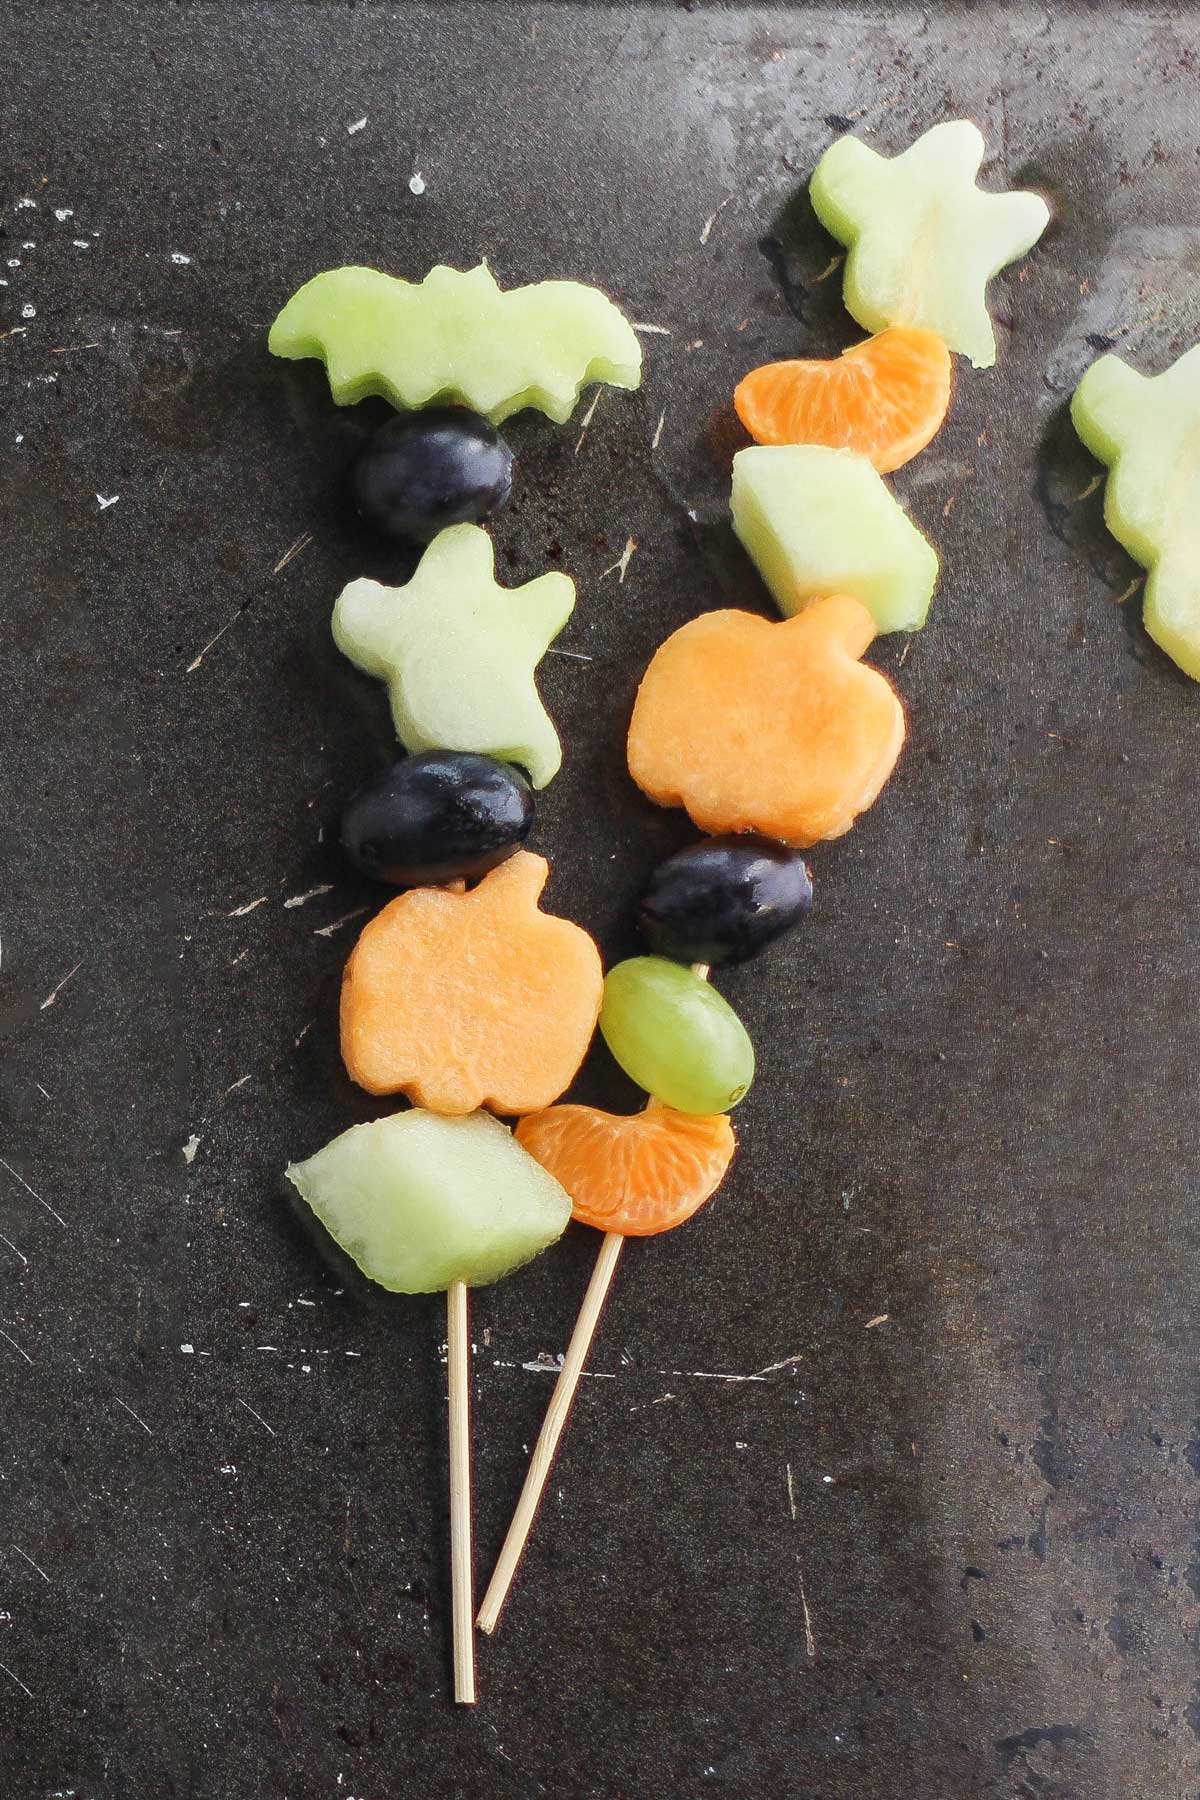
Ingredients:
- Your preferred fruit! Here are some ideas that fit the Halloween color scheme:
- Orange: Clementines/Oranges, Cantaloupe, Mango
- Black/Purple: Grapes, Blackberries
- Green: Grapes, Honeydew, Kiwi
- White: Bananas, Apples
- Halloween Cookie Cutters, Optional
- Wooden Skewers
Directions
- Wash and peel your fruit (if needed), then cut the large fruit into bite sized pieces. Use cookie cutters on large slices of melon or apple to make fun Halloween shapes! (If using a cookie cutter, we do recommend that you cut the fruit no smaller than 1/2-inch thick)
- Place your fruit onto the skewers, alternating the colors and types of fruit however you’d like
*There's no wrong way to make these kabobs. Add strawberries, watermelon, maybe even a chocolate drizzle! The choice is yours!
This recipe is courtesy of twohealthykitchens.com
Apple Monsters

Ingredients:
- Apples**
- Watermelon, sliced into small triangles (A strawberry slice would also work well!)
- Peanut butter*
- Slivered almonds*
- Candy eyes
- ½ tablespoon Lemon juice, optional
Directions:
- Cut the apples into quarters and slice the core off the back, then cut the "mouths" into the front of the apples.
- OPTIONAL: Paint all the cut surfaces with lemon juice to help prevent the apples from turning brown. Don't put on too much or the peanut butter won't stick!
- Spread peanut butter on the inside of the apple mouths and place the watermelon slices inside for the tongues. Then, gently push the slivered almonds in rows on either side of the mouth to form the teeth
- Use a couple of small dabs of peanut butter to stick on the eyes and you're done!
*For a nut free alternative use your favorite nut free spread and replace the almonds with pumpkin or sunflower seeds!
**Any apple variety can be used!!
This recipe is courtesy of aussiehomecook.com
Apple Mummies
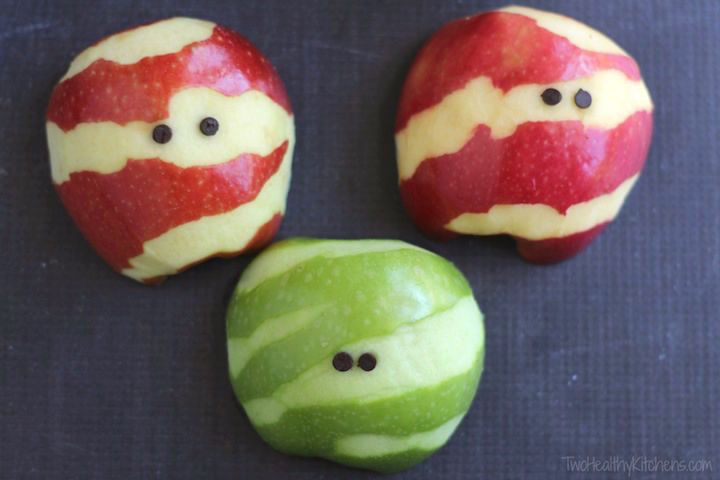
Ingredients:
- 1 Apple*
- 4 Chocolate chips
Directions:
- Cut the apple in half vertically and carefully remove the core.
- Starting at one edge, use a vegetable peeler to remove haphazard strips of apple peel.
- Press the chocolate chips into the apple, pointy end first, to create the eyes.
- Serve with a fruit dip, peanut butter, or just on their own!
*Some apples (such as Granny Smith) tend to turn brown more quickly than others after they've been cut. To prevent this, you can soak the apple halves in a bowl of water and lemon juice, or you may want to choose apples that don't turn brown quite as quickly (such as Pink Ladies and Honeycrisps).
This recipe is courtesy of twohealthykitchens.com
Halloween Chocolate Covered Apple Slices
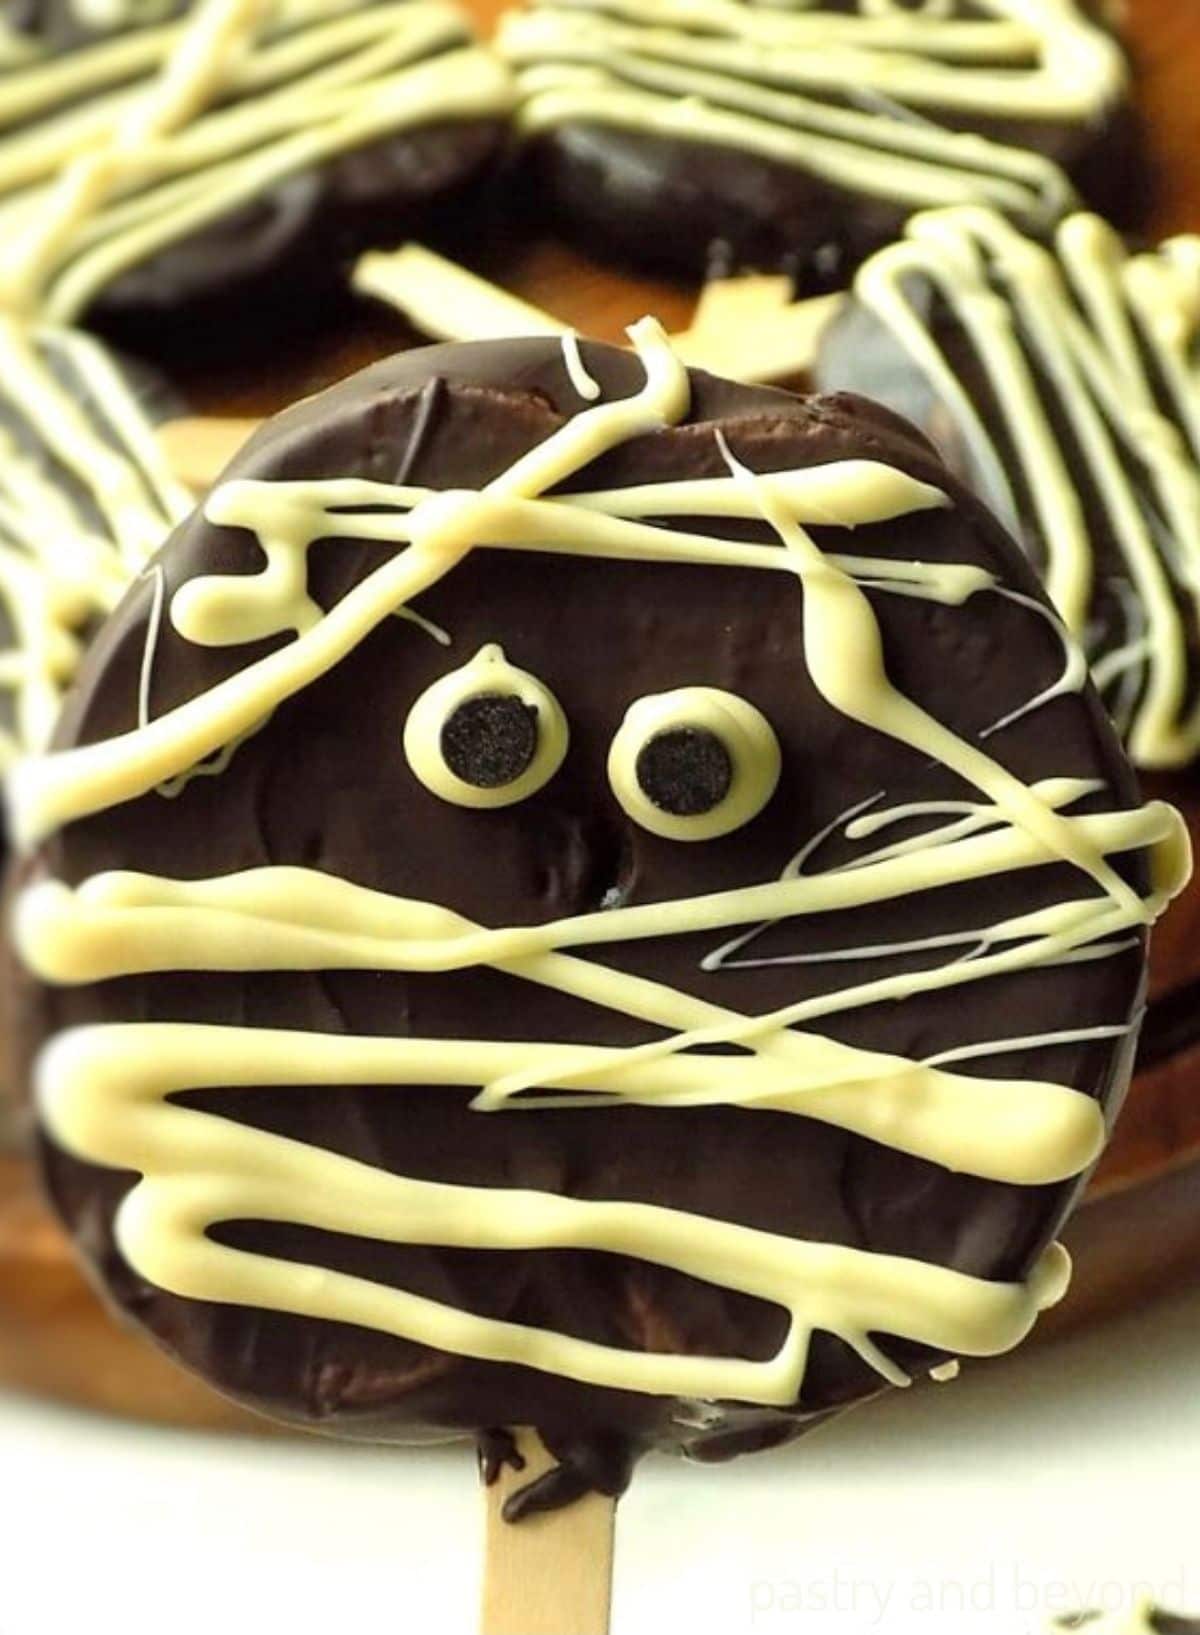
Ingredients:
- 2 large apples, cut into 1/2-inch slices
- 360 g (12.7 oz) semi-sweet chocolate 60% cocoa, roughly chopped*
- 130 g (4.6 oz) white chocolate, roughly chopped*
- Small chocolate chips
- Wooden popsicle sticks
Directions:
- Line a baking sheet with parchment paper or a silicone mat and set aside.
- Place your apple slices on a paper towel to let them dry as much as possible. Make a small slit with a knife in the bottom of the slices and insert the wooden sticks.
- Fill a medium saucepan with 1-2 inches of water and place over med-high heat. Once the water reaches a simmer, reduce to medium and place a heatproof bowl over the saucepan, making sure the bowl does not touch the water (If it touches, reduce the water amount)
- Pour your chopped semi-sweet chocolate into the bowl and allow to melt, stirring with a spoon or rubber spatula.
- Dip the apples into the melted chocolate (you may need to use your spatula to help spread the chocolate evenly on both sides) and allow some chocolate to cover the stick and act as "glue" for your slices, then place onto your baking sheet.
- Allow chocolate to set in the refrigerator for about 20 minutes
- Melt the white chocolate in the same manner as before. Once the white chocolate has melted and your apples have set, use a fork to drizzle the white chocolate over your apples to create a mummy appearance (for more control, scoop the chocolate into a piping or a ziplock bag). Make two small circles for the eyes and place one chocolate chip on each (or use some of your left over semi-sweet chocolate!)
- Keep in the fridge until ready to serve, and any leftovers should be stored in the fridge!
*Don't stop with mummies! By using colored chocolate, you can make a variety of fun Halloween designs such as pumpkins, Frankenstein, and more!
This recipe is courtesy of pastryandbeyond.com
Halloween Chocolate Strawberries

Ghost Strawberries
- 6 ounces (170 g) white chocolate, chopped into small pieces or baking chips
- 12 strawberries, medium to large size
- 24 candy eyeballs
- 12 chocolate chips or chocolate callets
Mummy Strawberries
- 6 ounces (170 g) white chocolate, chopped into small pieces or baking chips
- 12 strawberries, medium to large size
- 24 candy eyeballs
Halloween Sprinkle Strawberries
- 6 ounces (170 g) chocolate (dark, milk, semi-sweet or white), chopped into small pieces or baking chips
- 12 strawberries, medium to large size
- Halloween sprinkles
Zombie Strawberries
- 6 ounces (170 g) white chocolate, chopped into small pieces or baking chips
- 12 strawberries, medium to large size
- green sanding sugar sprinkles
- 24 candy eyeballs
Halloween Pumpkin Strawberries
- 6 ounces (170 g) white chocolate, chopped into small pieces or baking chips
- 12 strawberries, medium to large size
- orange sanding sugar or sparkling sugar sprinkles
- Optional: candy eyeballs and chocolate chips
Directions (One design at a time):
- Wash and dry the strawberries thoroughly with paper towel. Make sure they are completely dry!
- Set aside a small handful of the chocolate. Place the remaining chocolate in a heat-proof bowl set over a saucepan filled with 1-inch of barely simmering water (making sure the water does not touch the bottom of the bowl). Or use a real double boiler if you have one. Stir constantly until the chocolate is melted. Remove from heat and stir in the reserved chocolate until melted and the mixture is smooth.
- Hold a strawberry at the top, pulling back the leaves to use as a handle and dip into the melted chocolate. Let the excess chocolate drip back into the bowl, gently scrape the bottom against the rim and place on a baking sheet lined with parchment paper (for the ghost strawberries you will want some excess chocolate to pool in the front to create the bottom of the ghost). Decorate and repeat with remaining strawberries. Allow the chocolate to set completely before serving!
This recipe is courtesy of mapleandmango.com